In this project I am going to show you how to make a joule thief and put it in a jar. This joule thief is a simple circuit that will take an old “dead” AA or AAA battery and up the voltage enough to power an LED. I use these as decorations and to completely drain batteries that are too “dead” to work in other devices. Note: The only unique idea here is to stick one of these circuits into a plastic jar. The circuit is not mine. I learned how to make these circuits by following this Instructable and this post on EvilMadScientist.
To make a joule thief you need a AA or AAA battery holder, a 1k resister (or similar), a 2n3904 transistor (or similar NPN transistor), an LED, a ferrite ring, some wire, a project board (optional), and common soldering supplies. This is an easy soldering project and one that would be a good first project but I am not going to explain how to solder here.
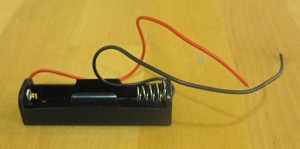
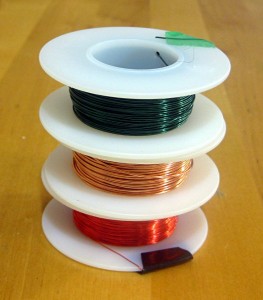
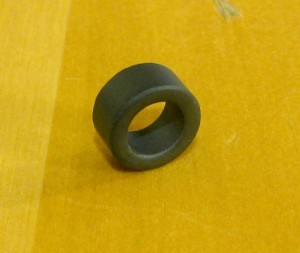
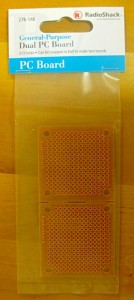
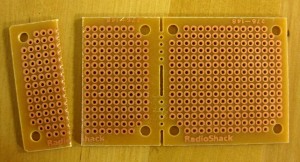
Most of the supplies can be found at your neighborhood electronics store, online, or scavenged from other electronics. I found ferrite rings at Ax-man, the greatest store in the history of all mankind. You can also salvage ferrite rings from old inductors or other ferrite toroids. You don’t need a very large project board. I used the smallest one I could find and cut it into smaller pieces with a Dremel tool. You could also build the circuit freehand.
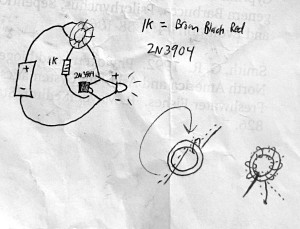
Below is my drawing of the circuit. It is by no means a true schematic but it was helpful to me. Here is a much better schematic.
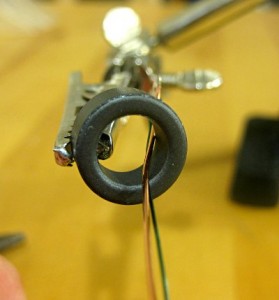
The most difficult part of this project, and it isn’t that hard, is to hand wind a ferrite toroid. You need 2 lengths of wire. I like to use magnet wire because it is thin but you need to use sand paper or a sanding wheel on a Dremel tool to take off the coating from the ends of the wire to solder them. This is a little harder to do than stripping traditional wire but not too bad. Holding the wires together, put them into the ring and wind them around the ring 8-11 times keeping the wires parallel to each other.
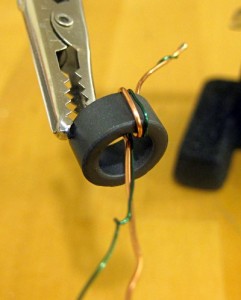
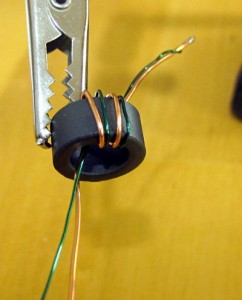
Connect the beginning of 1 wire to the end of the other wire (see photo). This will be connected to the positive (+) end of the battery.
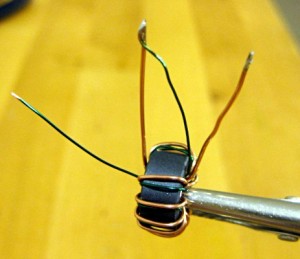
Solder the other components as in my drawing or the schematic. I didn’t have any 1k resistors so I used an 820 ohm resistor and the circuit works just fine. I’m probably burning through batteries slightly faster than if I had used a 1k resistor, but I’m OK with that. The 2N3904 transistor has 3 pins; the emitter, base, and collector. See the diagram to determine which is which. The collector (C) should be soldered to the positive (+) end of the LED and 1 wire from the ferrite toroid. The base (B) connects to the 1k resistor. The emitter (E) connects to the negative (-) end of the LED.

New LED’s will have 1 long pin and 1 short pin. The long pin is positive (+) and the short pin is negative (-). The base of most LED’s have 1 round side and 1 flat side. The pin on the flat side is negative (-).

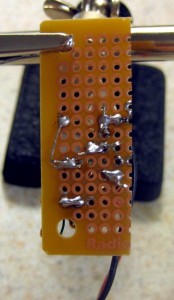
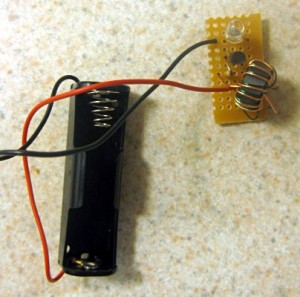
I used a blue LED because I like blue LED’s. You can use most any LED for this project. You can even use 2 or more LED’s in parallel but the brightness of each will be slightly reduced. I have tried flashing LED’s and I have found that they don’t usually work too well.
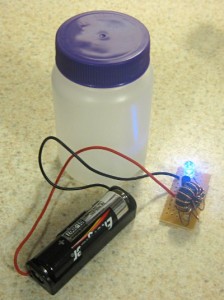
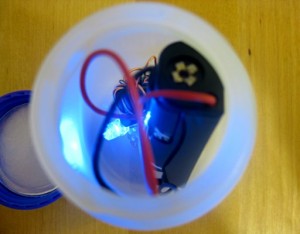
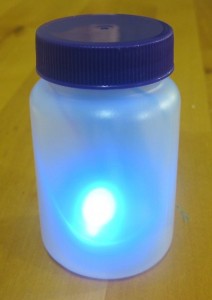
I found some small, semi-transparent plastic jars at Ax-man. By shoving the battery and circuit into a jar, I was able to make a little jar of light powered by a “dead” battery. I think it turned out well and the light is pretty bright.

very nice project i will try it now
but can we run any device with it
i mean another thing else the led
It only puts out a couple volts and very little current so it’s pretty limited in terms of what it can drive. It might be able to drive a very small motor in place of the led.
Hi, being novice in electronics, i wonder what the toroid and tranzistor does in this circuit? I mean, why don’t you put your LED directly on the battery (of course with a proper rezistor)? What exactly will improve the toroid? I suppose that if the Base will get enough power, the LED doesn’t work becouse the tranzistor will drain the power. So this is some blinking circuit? Excuse me for the obviously stupid question 🙂 Thans.
Nice project. Just don’t forget to connect the beginning of 1 wire with the end of the other one. :-)))