I needed a new belt and had an old bike tire laying around so I decided to turn that tire into a “new” belt.
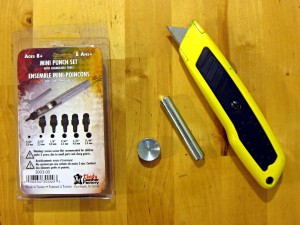
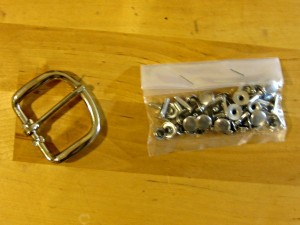
The tools I used were a box cutter to cut the rubber tire, a leather punch set, a rivet set, and a mallet. I used a standard rubber mallet but there are special mallets used in leather working that may work better. My rubber mallet worked without a problem though. As for materials, I used an old road bicycle tire, some rivets for leather work, and a belt buckle. The buckle was purchased new at Tandy Leather for about $1. You could reuse an old belt buckle if you want. All the tools and rivets can usually be found at Tandy Leather as well.
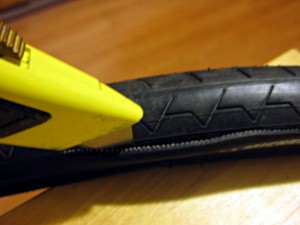
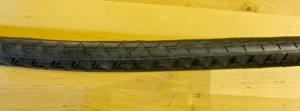
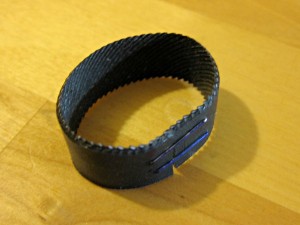
I took an old road bicycle tire and cut off the strip of rubber that contained the tread. This strip was used to make the belt while the sides of the tire were discarded. The tire I used had very little tread because I wanted a smooth belt but any bike tire would probably work. The rubber cut easily with a box cutter but because the tire is round, cutting was a little awkward. I ended up with a strip of rubber about 1.5″ wide and bought a belt buckle for that width.
 I needed to punch an oval into the center of the rubber so that the tongue of the belt buckle could fit through. They make special punches just for belt buckles but I don’t have one so, I just punched several round holes close together. The rubber gets flipped over the belt buckle and the tongue fits in the hole.
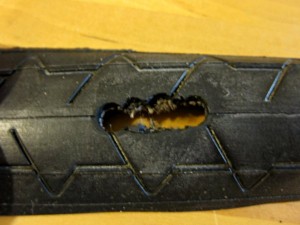
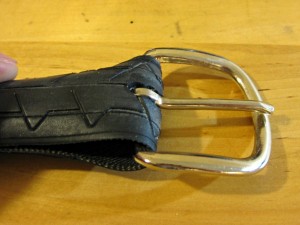
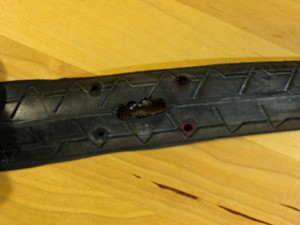
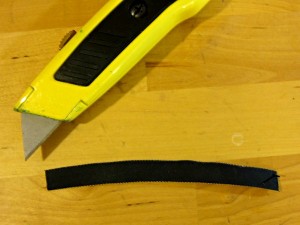
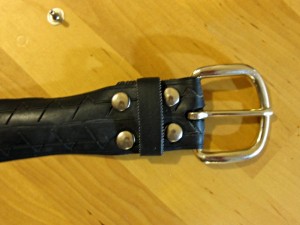
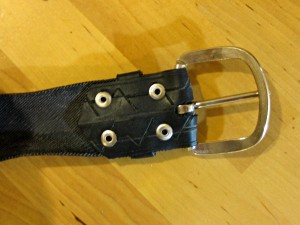
I secured the 2 folded over rubber pieces with 2 rivets placed as close to the buckle as I could get them. To put a rivet in, I had to first punch a hole in both pieces of rubber then use the mallet to secure the rivet through both pieces. I wanted a belt loop on my belt but did not buy a buckle with one as part of the buckle so, I made my own. I cut a strip of rubber from the discarded sidewalls of the tire and secured it in a loop with 2 standard staples. Then I placed the loop between the 2 pieces of rubber, right up against the first pair of rivets then put another pair of rivets behind the loop to secure it in place. I cut off excess rubber from the bottom piece of rubber to finish off the buckle end of the belt.
Next, I punched holes on the other end of the belt. Most belts I have seen have holes spaced 1″ apart, but I like my holes closer together to give me better control on exactly how tight my belt is. My waist is about 29″ so I punched one hole 29″ from the buckle. I then punched holes 3/4″ in front of and behind that hole. I punched a total of 7 holes to cover a range of belt sizes, just in case.
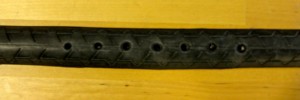
To finish the belt, I cut the holed end of the belt in a rounded shape to make putting on the belt easier. Scissors work well to round the end of the belt.
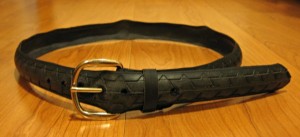
This project wasn’t too difficult and I am sure I will be making another one sometime in the future. After several weeks of use, the belt is holding up well. It is very strong and is more lightweight than my old leather belt. The rubber has much more friction than leather, so the belt doesn’t go through the belt loops on my pants quite as easily as a leather belt, but it really isn’t a big deal. I think the belt looks good, it performs well, and I really like it.

so tuff avey good idea for recycling
I just made one. Instead of rivets, I used small bolts. Instead of a leather punch, I used a nail heated over a candle. This is a fun, simple project that anyone can do and the result is very functional and dare I say it, even stylish.