![]() Makify is now on Twitter! @Makify1
Makify is now on Twitter! @Makify1
All posts by Vinnie
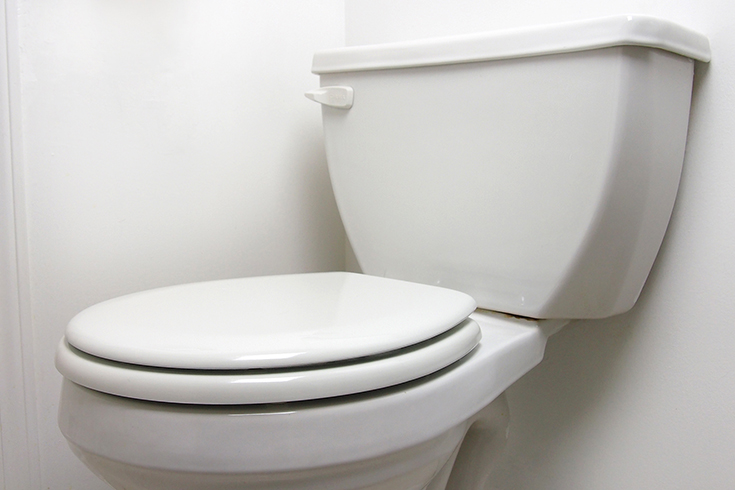
How Does a Toilet Work?
Have you ever wondered how a toilet works? They are fairly simple but amazing devices. In this video I describe the inner workings of an older style toilet and a newer low-flow style toilet.
DIY Desktop Speaker Stands
I just got some new monitor speakers, M-Audio AV 40’s (Amazon link), for my birthday and I wanted to make some stands to raise them off my desk a little and get them level with my ears. Here’s how I did it.
You can download the template here.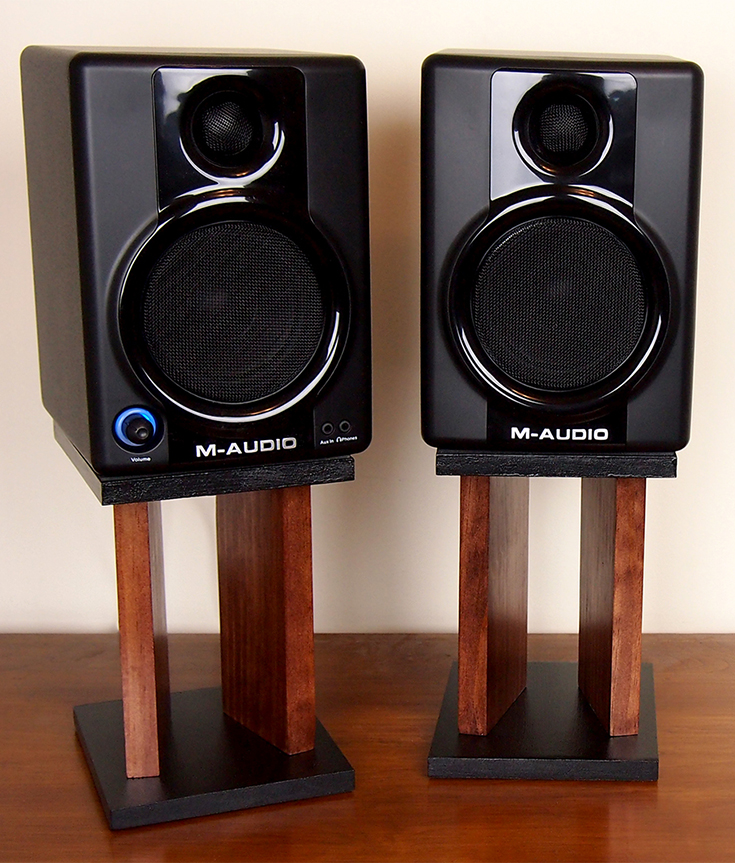
DIY Macro Extension Tubes
I really like macro (close-up) photography but macro lenses are expensive. There are a number of cheaper ways to get nice macro shots and one of them is by moving the lens away from the camera via an extension tube. I came up with a cheap and easy way to make extension tubes from ABS or PVC pipe, a camera body cap, a rear lens cap, and some JB Weld KwikWeld (Amazon link).
This simple style of extension tube doesn’t have electrical contacts between the lens and camera so you might lose aperture and focus control but you can repurpose old manual focus lenses and give them new life this way!
Here’s how I do it.
The link to the online calculator mentioned in the video is here.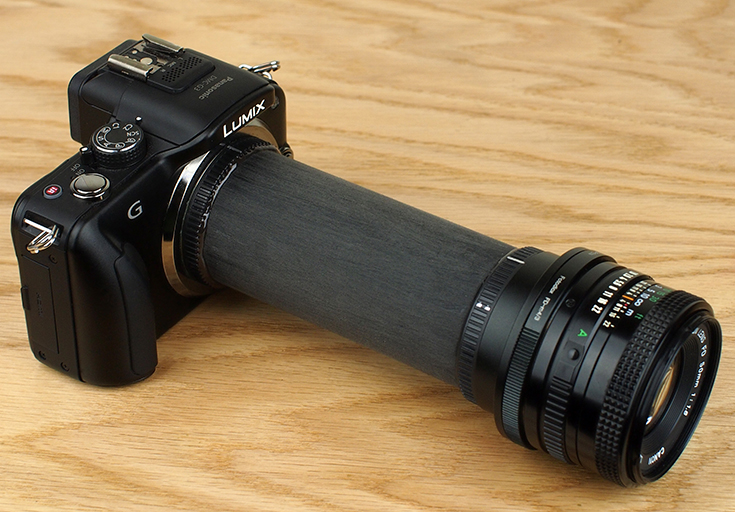
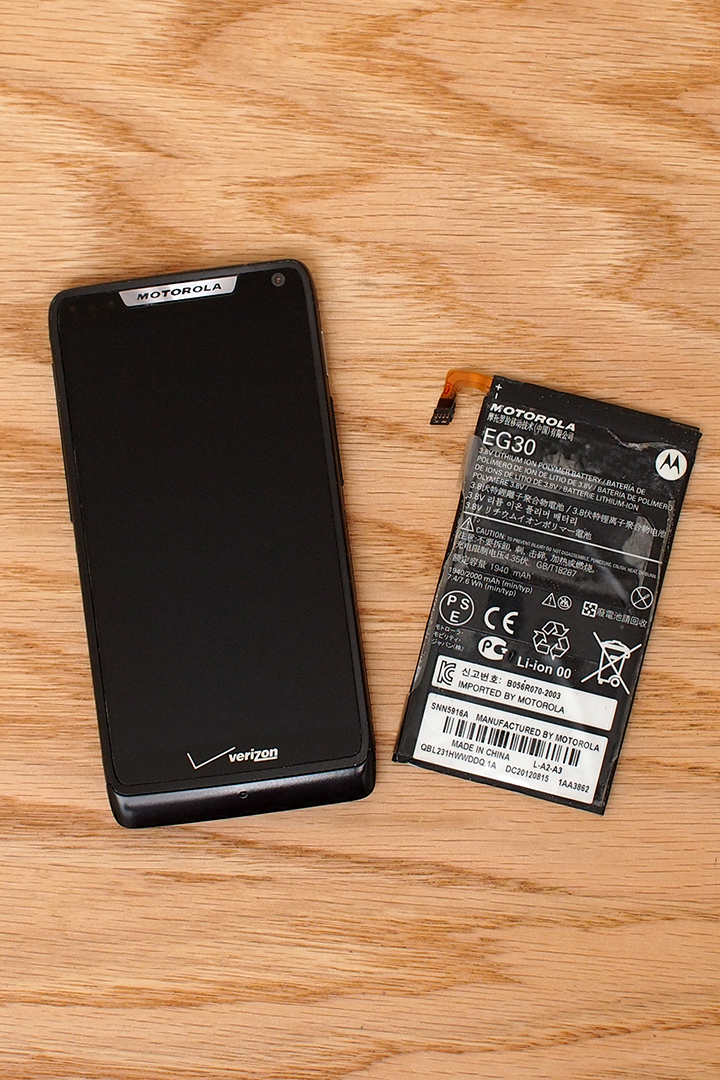
Motorola Razr M Battery Replacement
I have a Motorola Razr M [model: XT907 (Amazon link)] and the battery doesn’t last very long anymore so I ordered a replacement from Amazon and switched the batteries. Here’s how I did it.
How to Block Print a T-shirt
I started playing around with block printing and noticed there aren’t very many tutorials on how to block print on fabric like t-shirts so I made this tutorial. You can make some pretty cool t-shirts this way. In many ways block printing is easier than screen printing (I have a tutorial on that here) and gives a nice, vintage look. Here’s how I do it.
Supplies used in the video:
Blick ReadyCut -> http://www.dickblick.com/products/bli…
Transfer Paper -> http://amzn.to/1xzdktj (Amazon link)
Carving Tool -> http://amzn.to/1yMrqNZ (Amazon link)
Speedball Fabric and Paper Ink -> http://amzn.to/1xzdzou (Amazon link)
Brayer -> http://amzn.to/1yJhhOS (Amazon link)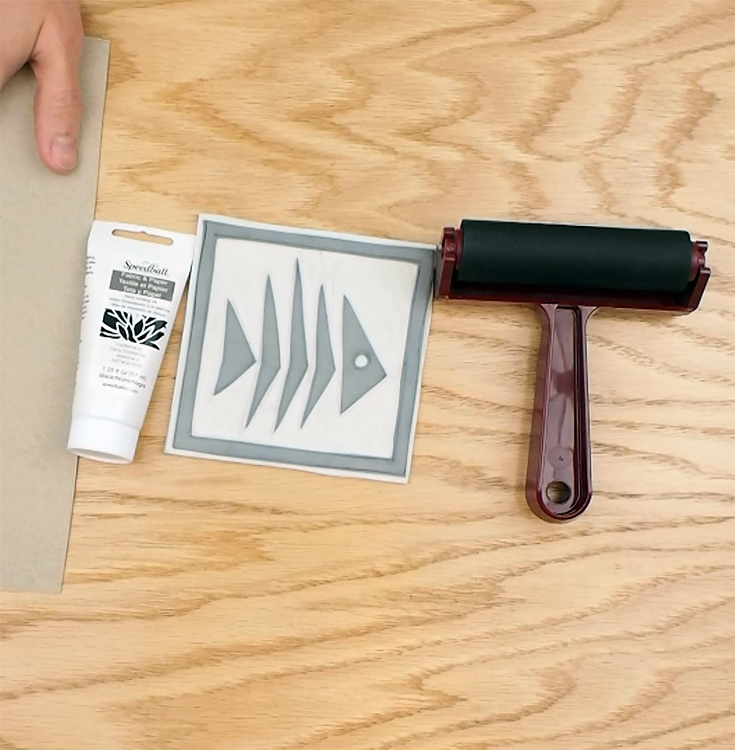
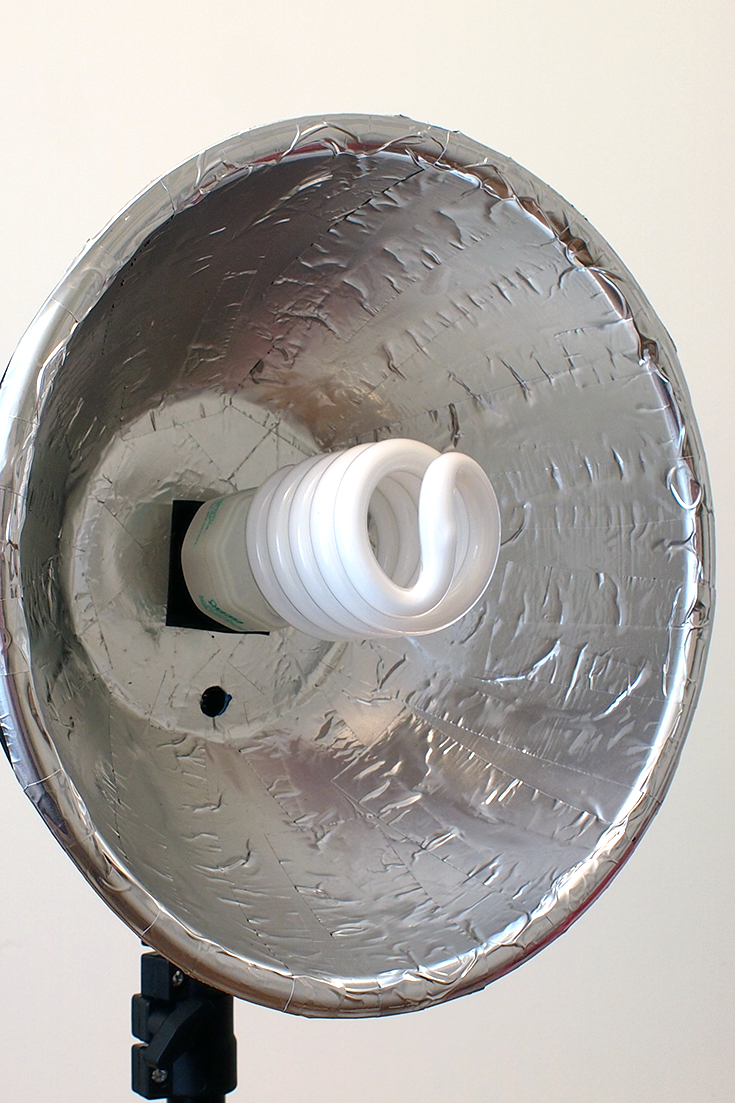
Cheap DIY Studio Light Reflector
The studio lights I use to make my videos waste a lot of light so I made some cheap reflectors using bowls from the dollar store and foil tape (Amazon link). The new reflectors direct more light forward toward whatever I am filming. The reflector gives me about an extra 1 1/3 stops of light which is pretty good. Here’s how I did it.